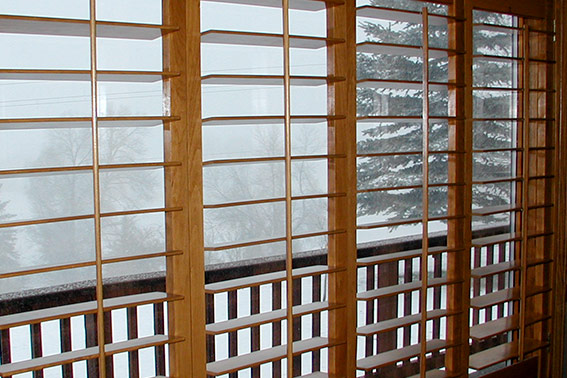
How to Install Shutters
Now that your new shutters are custom-crafted and poised to become the newest part of your home, it’s time for installation. While we at Stanfield Shutter offer the option of free installation within a 60-mile radius of our Salt Lake City Office, some of you might be curious as to how the process would work should you decide to do it yourself. If self-installation is your preference, any & all warranties from Stanfield Shutter become the responsibility of the chosen installer and/or home owner.
Installing shutters is easy to do with a bit of know-how. To give you a better idea of how to do the installation, we’ve broken it down step-by-step in this video. Refer to the list of steps below to determine whether you would like to install the shutters on your own time or opt to have them installed by our professional installation team.
Required tools
To get started with your shutter installation, you’ll need a few tools. Gather together a pencil, ladder or stepstool, drill and drill bit, a small crowbar and a hammer. These are simple tools you can get at any home improvement store, such as Home Depot. Having an extra pair of hands to hold the shutters in place while you install them is also helpful.
Step 1: Set up ladder
Get started by setting up a ladder or step stool next to the windows where you will be hanging the shutters. For safety purposes, ensure that you place the ladder on a firm, flat surface. Have a helper hold the shutter next to the window and align the shutter evenly with the bottom of the window.
Step 2: Set the shutter frame in window/door opening.
Gently push up frame so that it is close to the top of the window. This will allow installers to adjust frame downwards working with gravity rather than upwards. Nail/Screw the Hinge side, Left/Right vertical side of the frame first about 3” to 4” from on upper left and right side and 3” to 4” on the lower left and right sides. Try to keep frame as square as possible, thus allowing the shutter to fit squarely into frame.
Step 3: Screw shutter panels into the frame
After the frame is securely nailed/screwed into place, screw shutter panels into the frame by using screws provided. This can be accomplished by lifting the shutter panel into the frame. Then open the shutter 90 degrees into the room, swing the loose part of the hinge to the frame and screw into place. Close the Panel into the frame, you should have about 1/8” to 3/32” Clearance on the top and bottom between shutter panel and frame. This clearance is needed to put on the catch receiver on the top as well as the panel glide on the bottom of each panel (steps #6-#7).
Step 4: If a two panel shutter follow steps #2-3 for the opposite side of window.
Step 5: Close shutter panel(s)
Step back to look how the shutter panels fit into the frame. Adjust the frame as needed. You may use a small crowbar to get behind the frame to leverage the frame on any side to adjust fitting.
Step 6: Nail bottom panel glide to bottom of shutter frame
A bottom panel glide will be provided (Rounded top with a nail on the bottom),.Nail the bottom panel glide on to the bottom of shutter frame. One will go under the opposite hinged side of the shutter panels. If 2 or more panels the panel glide will go in the bottom of the frame were the shutter panels meet.
Step 7: Top of shutters catch
A top Receiver & nail will be provided for the top catch. The Top of the shutters catch will make a mark to indicate the place to nail the receiver into place for shutter catch to click into place.
Step 8: Set frame in place
Nail/screw frame at the top and on the bottom to set frame into place. Adjust height of top/bottom frame of the bottom glide and top frame catch to allow shutter to hinge open and closed easily.
Step 9: Caulk
Finally, Caulk the seam between frame face and wall as needed. Touch up shutter as needed for finishing touches.
Shutter installation by Stanfield Shutter Co.
While following these instructions can help simplify the shutter installation process, contacting our team of professionals will ensure a perfect fitting. Our installation team makes the process smooth, easy, and it’s even free! No matter your shutter needs, rely on the custom shutter experts at Stanfield Shutter. We provide top-notch shutter installation free with every purchase. Contact us today to learn more about our products, request a quote, or schedule a shutter installation.

